In my opinion sewing is a fantastic past time. It allows you the opportunity to be creative, problem solve and to take some time out from thinking about the stresses of daily life and work. I read somewhere that sewing is the craft that can save you the most money too. I don’t know whether this is true but it is definitely useful to be able to mend or adjust clothes and soft furnishings.
When it comes to making clothes, I find making things for the children particularly rewarding. This is probably because clothes for kids require less material than adult clothes so they can often be made out of off cuts! I’m also fortunate that my kids are always excited to have something homemade to wear.
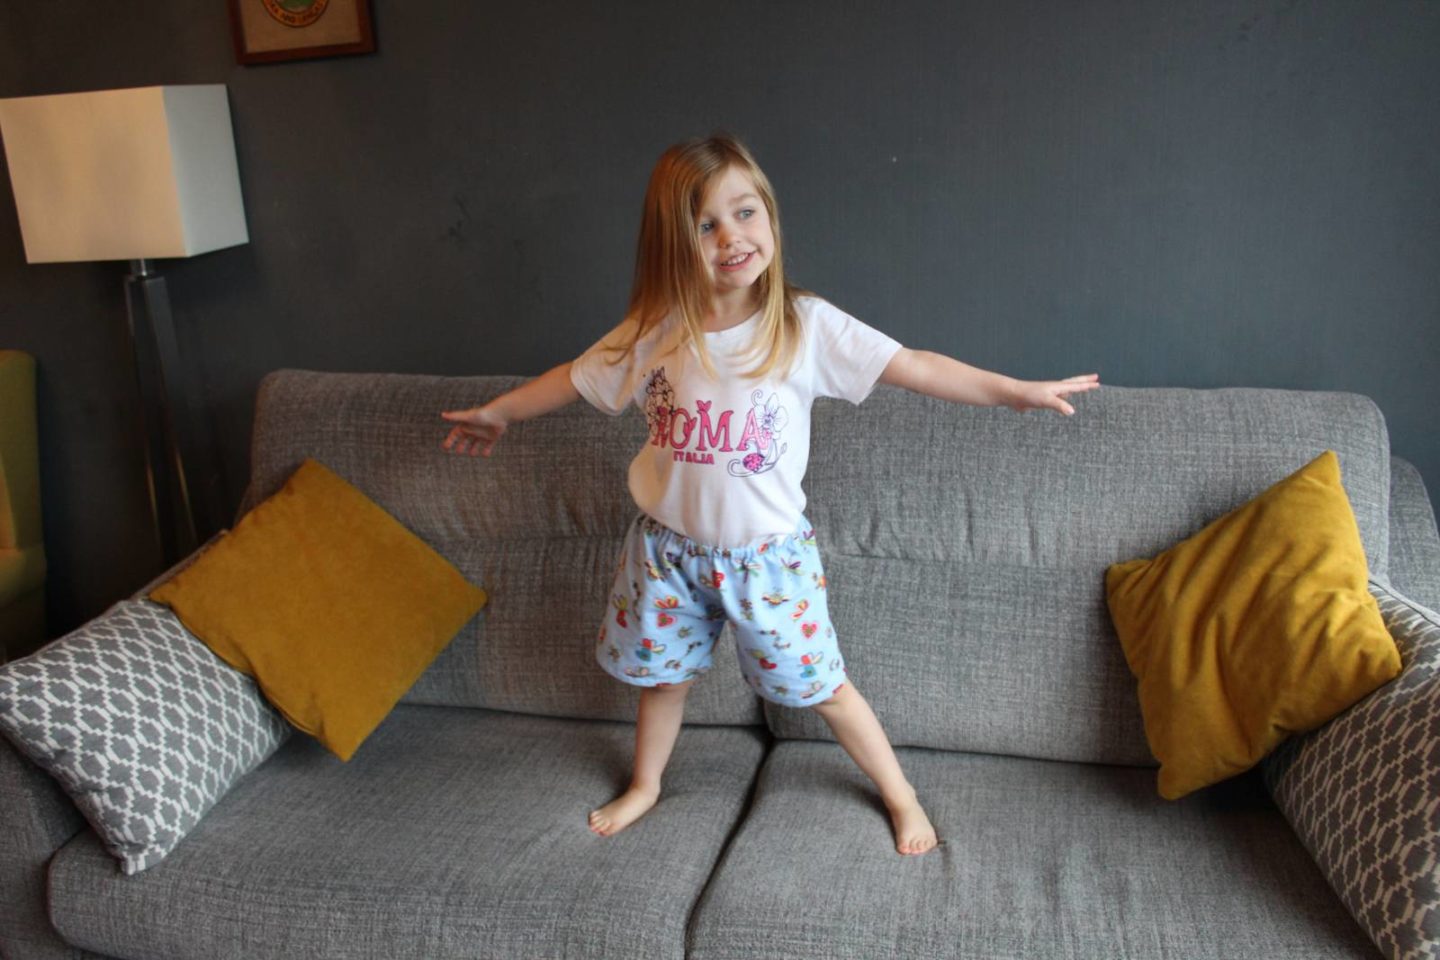
These Kids Pyjama Shorts Without Using a Pattern are so simple; perfect for a beginner to make, and because they don’t require a pattern they are super quick to just get on with.
Kids Pyjama Shorts Without Using a Pattern
Materials and equipment:
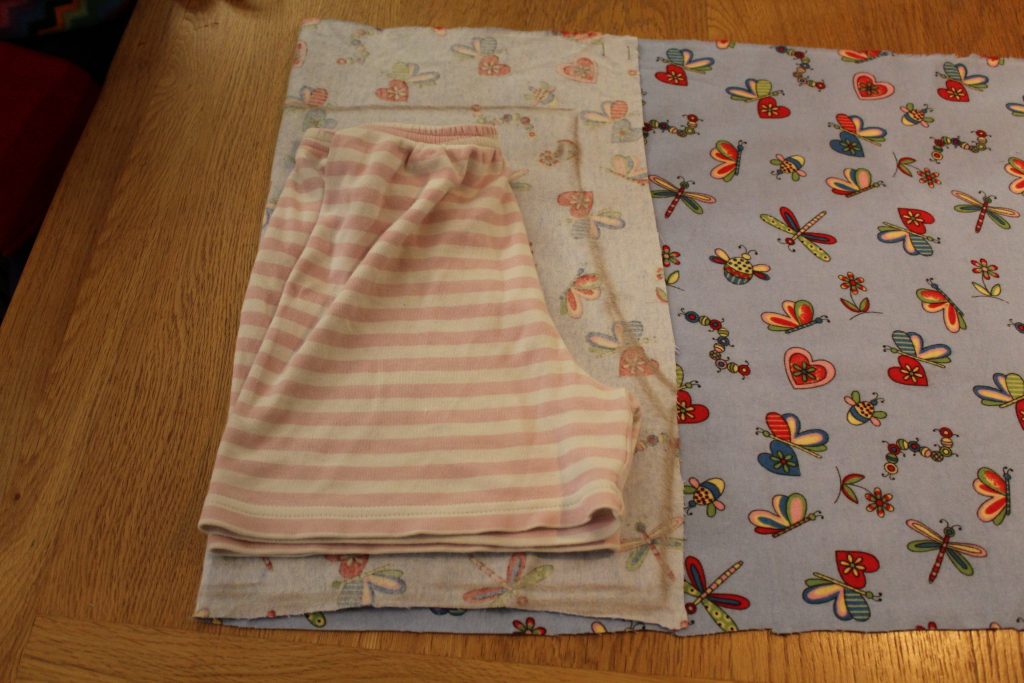
1/2 m of material – jersey, brushed cotton or fleece are good options. It’s a good idea to wash, dry and iron the material before you use it in case it shrinks a bit
Thread that coordinates with your chosen material
1/2 or 3/4 inch elastic
Sewing machine
Scissors
Tape measure
Dressmakers chalk
Pins
A large and a small safety pin
Ironing board and iron
A pair of your children’s shorts that fit comfortably

How to make Kids Pyjama Shorts Without Using a Pattern:
NB. Sorry about the dark photos – I made these in the evening whilst my husband watched the football on TV!
- Fold your material in half and draw on the back of the material. Fold your child’s existing shorts in half (see above) and lay them on on the material with the long side lined up with the fold in your material. Pull the seems of the shorts out so they lay flat. Draw around the outline of the shorts with dressmakers chalk leaving 2 inches extra at the top and bottom of the shorts and 1 cm on the unfolded edge of your material. Make sure you pull the elastic waist of the shorts taut to get the right size for the waist.

2. Cut out. Fold your left over material in half again, use your cut out piece as a template and draw round it. Cut out so you have two matching pieces.

If like me, you are using off cuts and don’t have a long enough length of material to fold, you can just lay two pieces of material on top of each other, right sides facing each other, and cut out all the way round. You will need to leave a cm seam allowance along the long side and sew the two pieces together before along the long side before you continue with the pattern. Use a running stitch (I used a stitch length of 4) then sew down the raw edge again with a zig-zag stitch or overlock to stop it from fraying. The beauty of choosing to use fleece instead of brushed cotton or jersey material is that you won’t have to do this last part as it won’t fray.
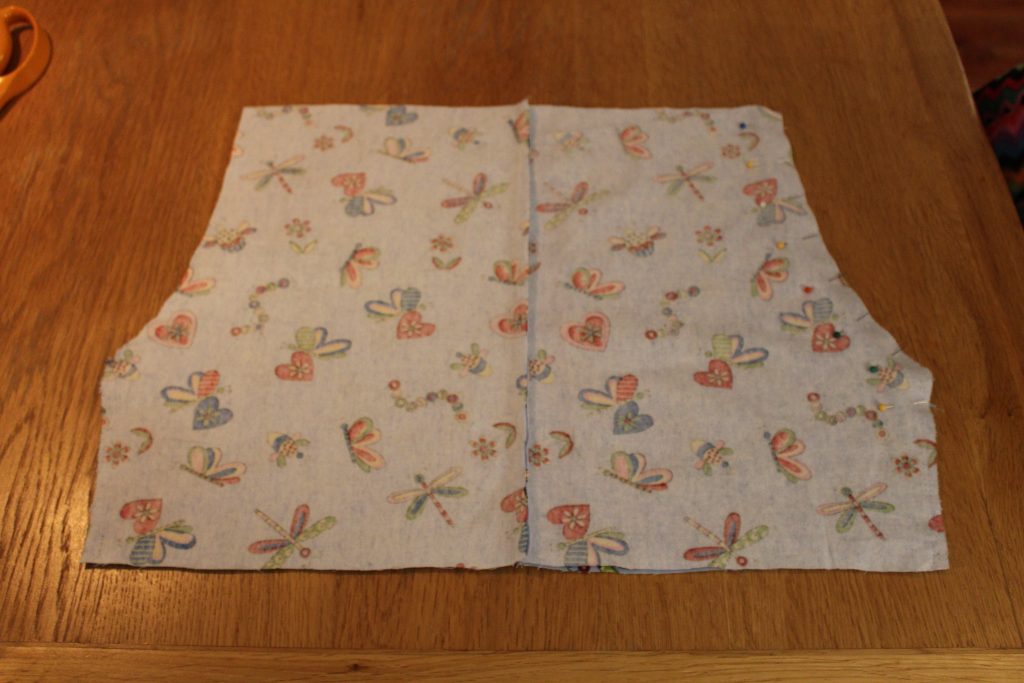
3. Open out your two pieces of material and lay them on top of each other, again the right sides facing each other. Pin and sew the curved edges using a running stitch (1 cm seam allowance) and zig-zag stitch or overlock to prevent fraying.

4. Open out your shorts the other way now and pin the inside leg seams together. Again use a running stitch 1 cm from the edge and then zig-zag stitch or overlock to join them. Go slow over the part where the two legs meet as this will be 4 layers of fabric this and it can be easy to go off course with your stitching!

5. Press all your sewn seams flat with the iron. Then turn over the bottom of each leg by an inch twice and iron. Do the same with the top of the shorts to create a waist band. Measure out a length of elastic that will fit around your child’s waist. I measured the existing pair of shorts with a tape measure to get the right length and added an additional inch to enable me to over lap and sew the elastic into a band (don’t sew it just yet though).

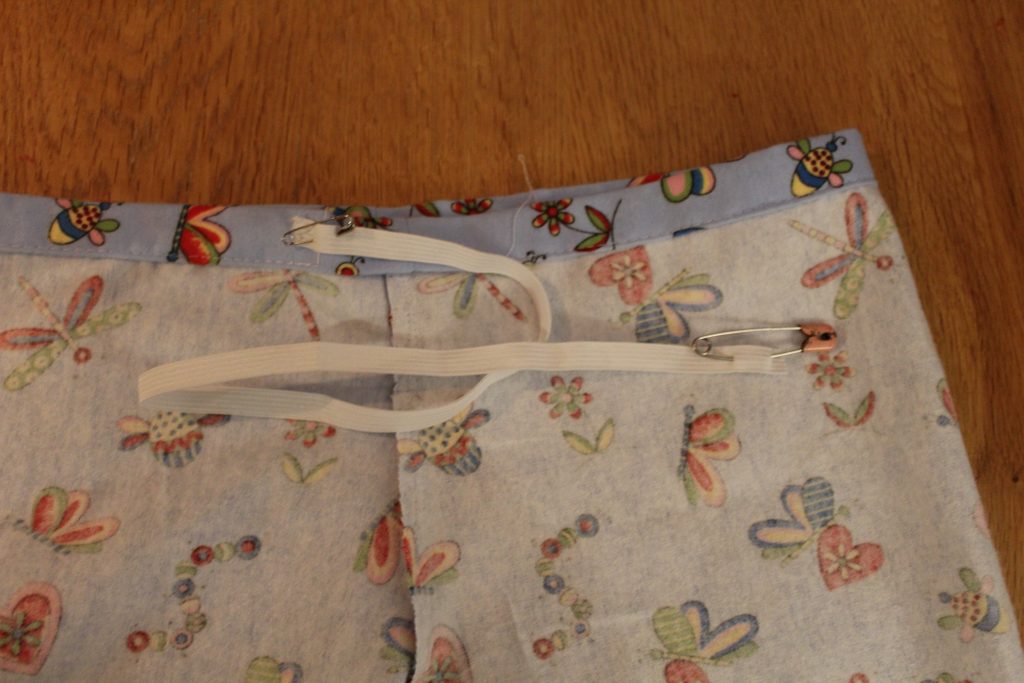
6. Pin and sew around the legs. Pin and sew the waist band but leave a 2 inch gap in the sewing to allow you to thread the elastic through. A tip to help you thread the elastic easily is to pin one end to the waistband with a small pin. Attach a large pin to the other end of the elastic and this will help you to thread it through the waistband.
7. When you’ve threaded the elastic all the way through, overlap it by half an inch and sew it down. Close up the gap in your waist band by sewing in the last 2 inches.

8. Finally do something called ‘stitch in the ditch’. This will stop your elastic becoming twisted in the waist band. Where you have a seam at the front and middle centres of the shorts, put a few stitches in the waistband to hold the elastic in place.

You’re all finished! I hope you enjoyed this tutorial on Kids Pyjama Shorts Without Using a Pattern.

Why not PIN this post Kids Pyjama Shorts Without Using a Pattern


Ooh I like these ??