Today I had a go at making a dreamcatcher and it was really good fun! This would be a perfect craft to do with your child and it also makes a lovely little gift. I decided to make one as my youngest is going through a period of having bad dreams and waking often in the night. I thought a dream catcher might make her feel a little happier about settling down to sleep.
Dreamcatchers were originally made by the Native Americans out of natural materials. They believe dreams, good and bad, float around in the night air and the spider web design catches bad dreams and holds them until morning when the sunlight destroys them, whilst the good dreams slide down the feathers to the sleeping person below.
My design was simple, it was my first one after all, but I hope that I’ll get better at making them and be able to do some of the more intricate designs I’ve seen for sale in shops. Here is my beginners guide for how to make a dreamcatcher.
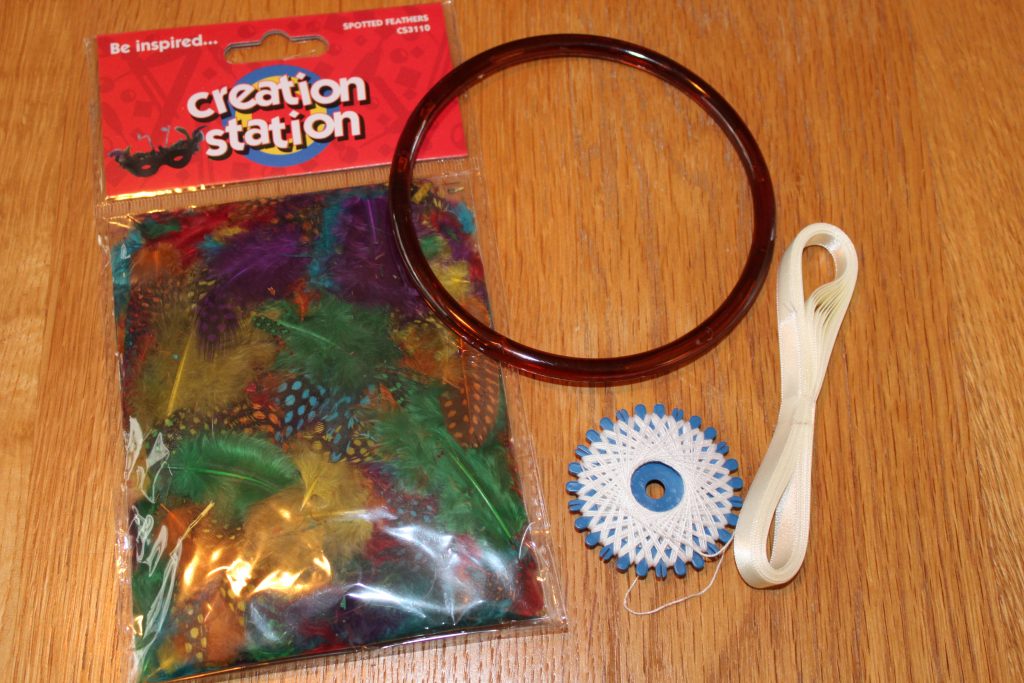
Equipment:
Hoop: traditionally the hoop would be made of wood but I found some plastic ones that were 2 for 99p in Boyes
Thread
Ribbon
Feathers
Beads
Needle
Glue gun
How to make a dreamcatcher:

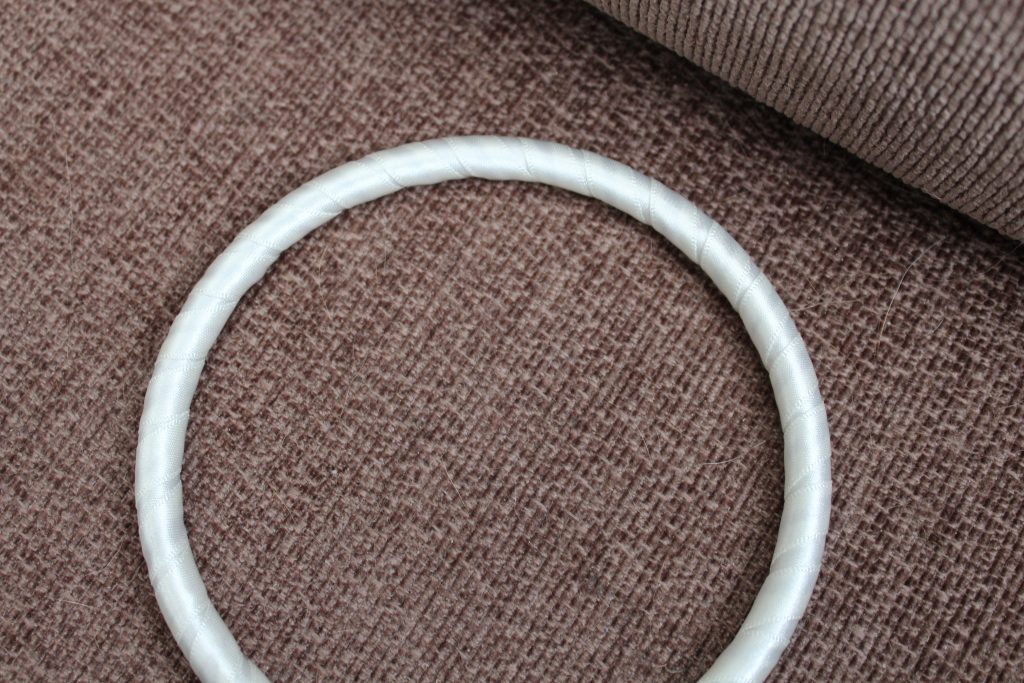
- Wrap your hoop in ribbon. To make it a snug fit I wound it round the hoop twice, the first time leaving small gaps between the edges of the ribbon, the second time covered them up. I used a dot of glue to hold the ribbon in place to start it off and another dot of glue to hold it securely when I had completed covering the hoop.
2. Take your thread and knot it around the edge of the hoop. Pull the long piece of the thread along a couple of inches along the hoop, wind it round the hoop again and loop around itself to hold it in place. This is a little tricky and I found using a needle on the thread helped me with it.
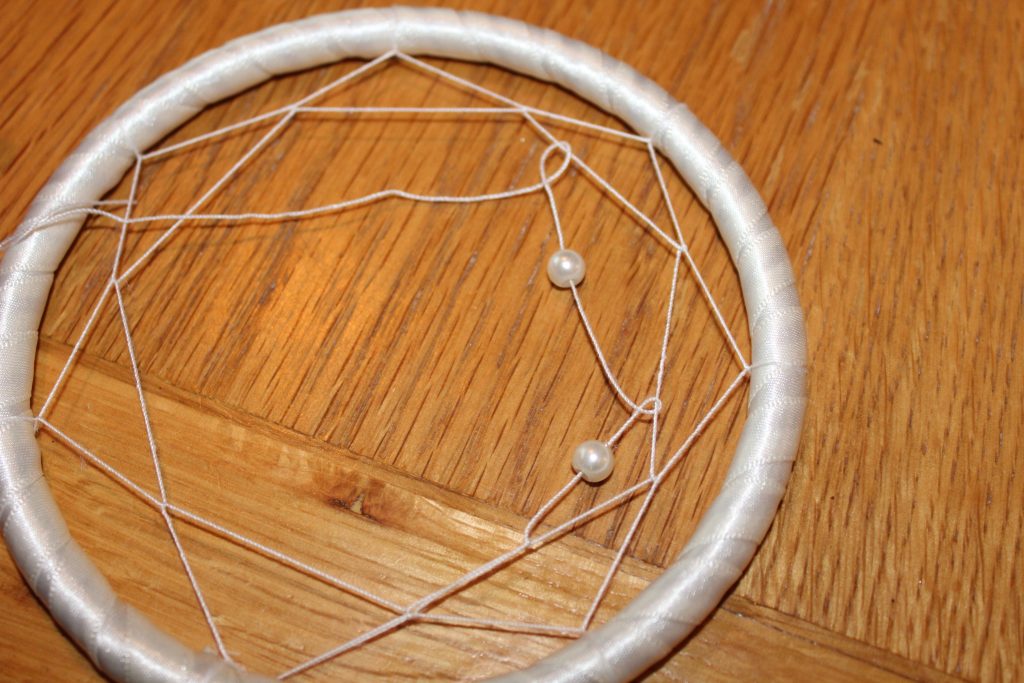
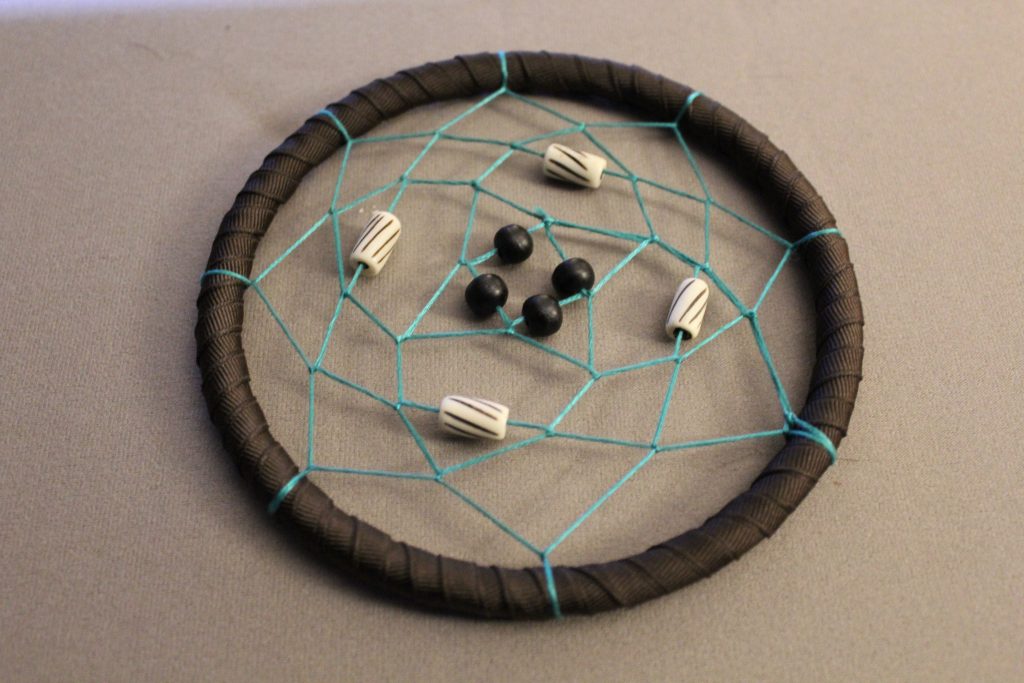
3. When you have been all round the hoop and done one layer, begin your second layer by wrapping the string halfway between two points. Pull the thread to halfway between the next two points and wrap it around the string there. Then go around the hoop creating your second and subsequent layers in the same way. If you like you could thread some beads onto your string as you go.

4. When you have got towards the centre you need to come up with a design to finish the middle of the web off. Because I didn’t really know what I was doing I made this up as I went along and it turned out as above! Knot your string in a discrete place and trim off any left over thread.

5. Finish off your dream catcher by adding some ribbons and feathers hanging on strings. You can thread beads on these strands too which helps to weigh them down. Tie a loop of thread at the top of your hoop so it can be hung up.
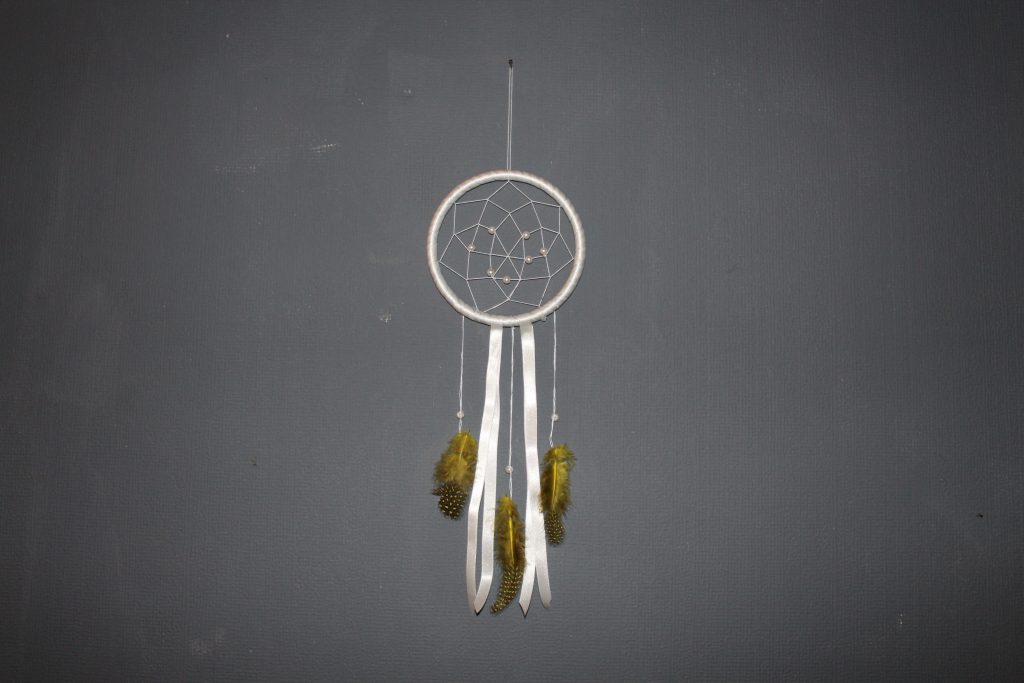
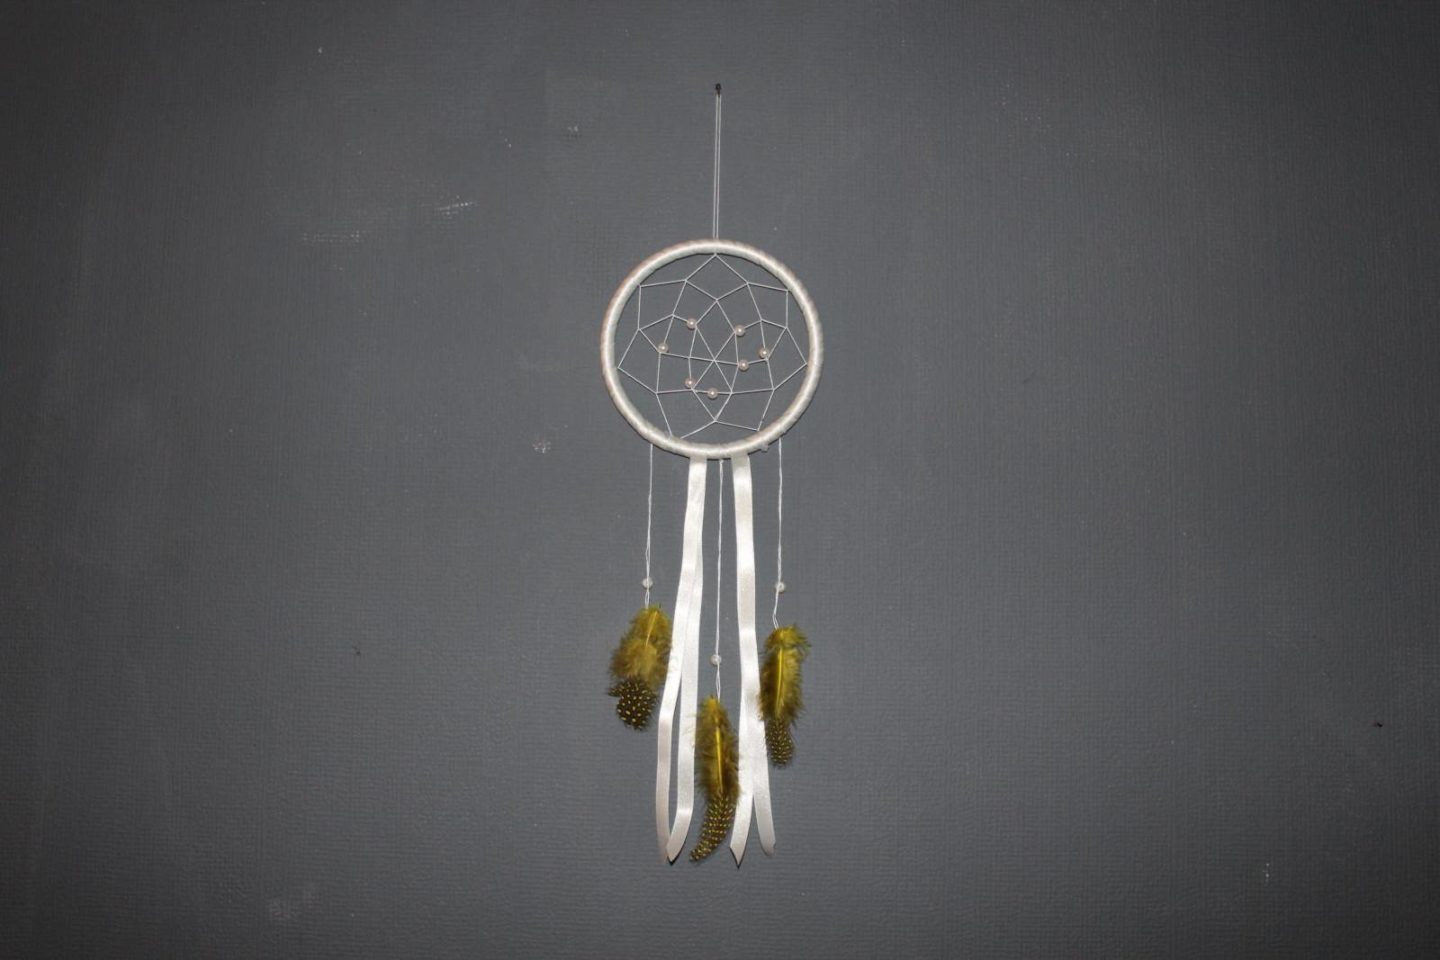
This is my finished design. I didn’t have any white feathers which would’ve matched better but it doesn’t matter as my little girl loves it anyway. Let’s hope she has a good night’s sleep now!
I’d love to hear if you’ve had a go at making a dreamcatcher. I’ve already started my second one and so far done the hoop part. I think making dreamcatchers could get quite addictive!
Why not PIN this post about How to make a Dreamcatcher