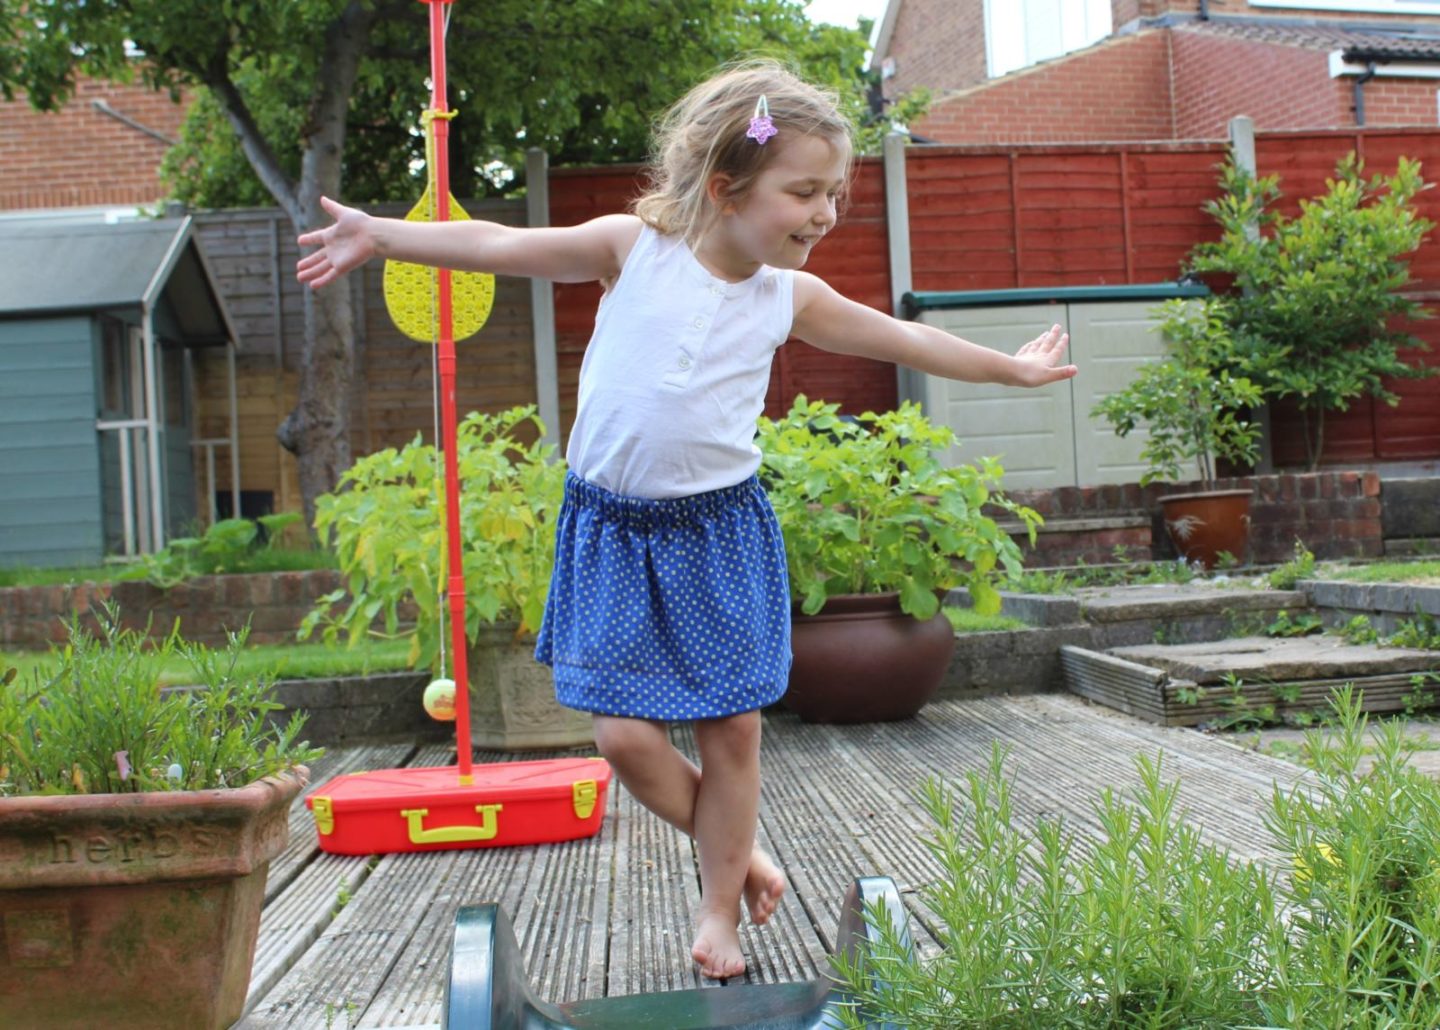
Before my mid 30s, I hadn’t been near a sewing machine since textiles class in secondary school. It wasn’t a conscious decision to start sewing, more of a necessity; getting involved in doing costumes for the school plays when I worked as a teacher and then after my children were born, doing fancy dress costumes and the occasional outfit. However as time’s gone on my confidence has grown and now I love to make clothes for my 3 kids.
Here’s a really simple way to make a cute child’s skirt. It’s the perfect project for an summer afternoon of sewing therapy! The pattern is great for everyday wear or for fancy dress skirts. It doesn’t matter what material you use. I’ve made that many now that it’s literally a 30 minute job to knock one up!
How to Sew a Simple Skirt for Kids
There’s a simple formula for working out how much material you’ll need. First measure the waist size. Multiply the measurement by 2 and that’s the length of material you need. Next measure the length from your child’s waist to where you want the skirt hem to fall. Add 5 inches and that’s the width you need to cut your material.
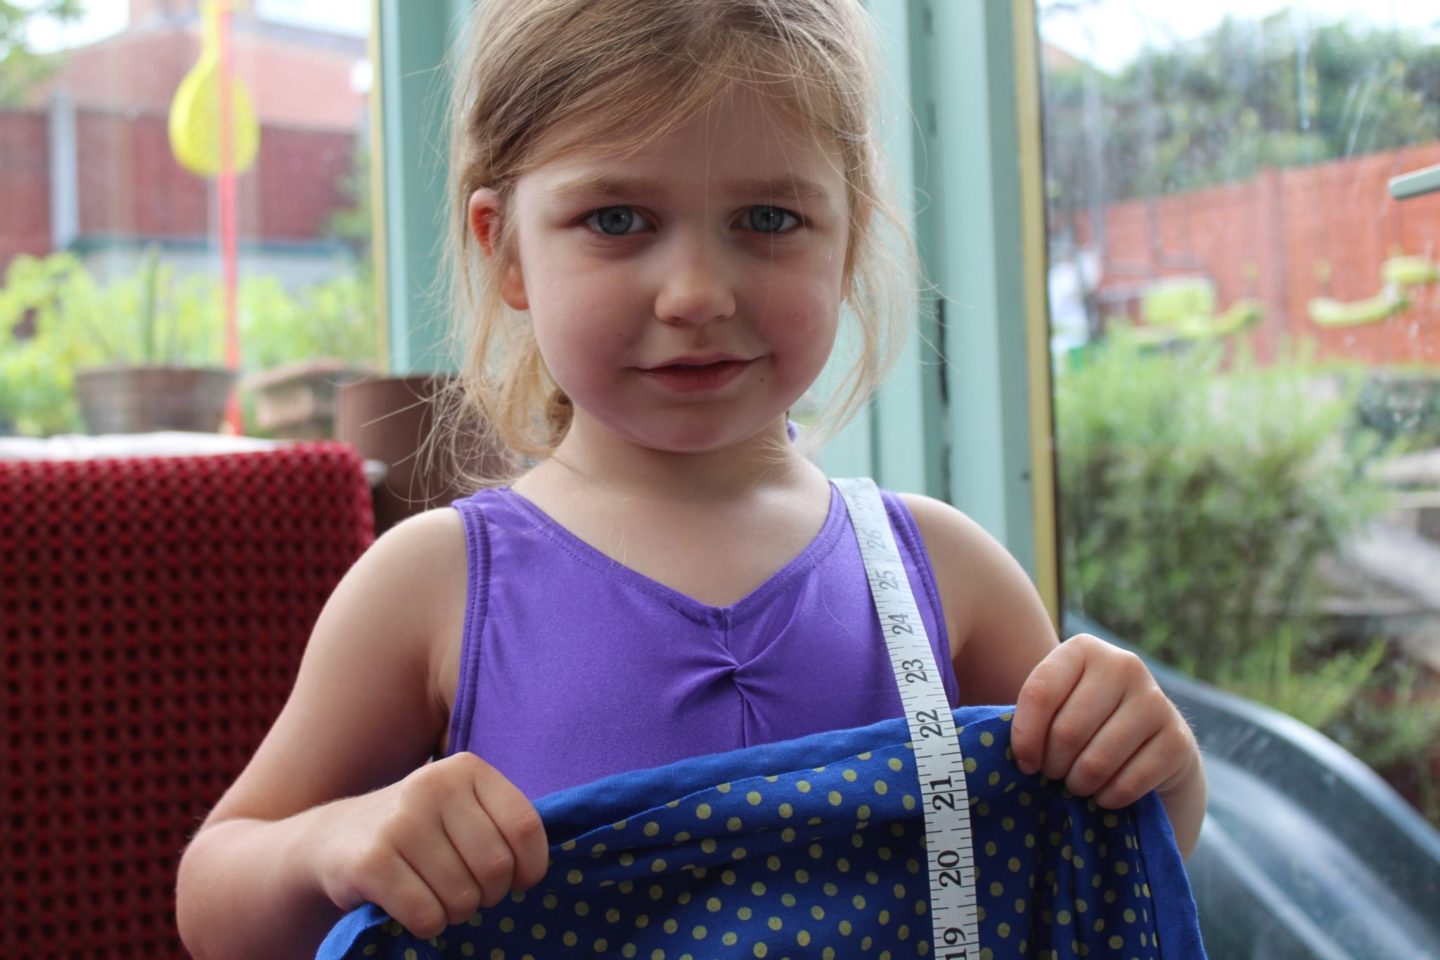
Cut out your rectangle of material. Sew the two width ends together. Hem the edges by overlooking or zig zag stitching them. If you don’t want to do that at the very least cut the raw edges with pinking shears to reduce fraying.
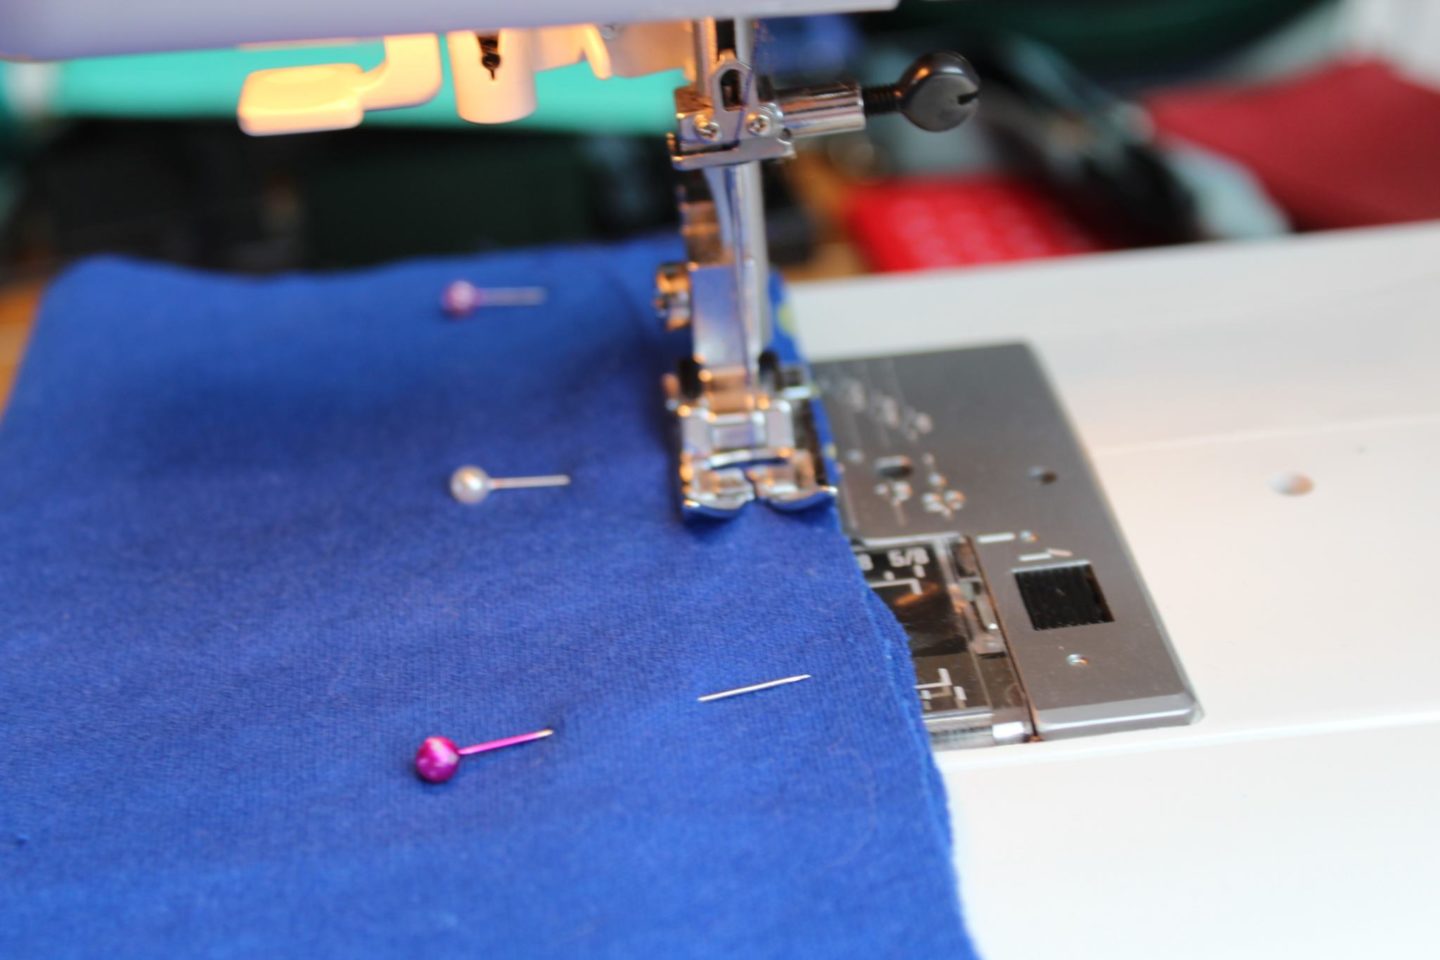
Next turn over the bottom hem and inch, and turn over again. Iron down flat, if you like, and pin then machine stitch the hem using a long running stitch.

We are nearly there! Turn over the top hem 1 1/2 inches and then turn over again. Stitch the hem down, again with a long running stitch, but don’t over lap your stitches, finish sewing when you are 2-3 inches away from where you started.

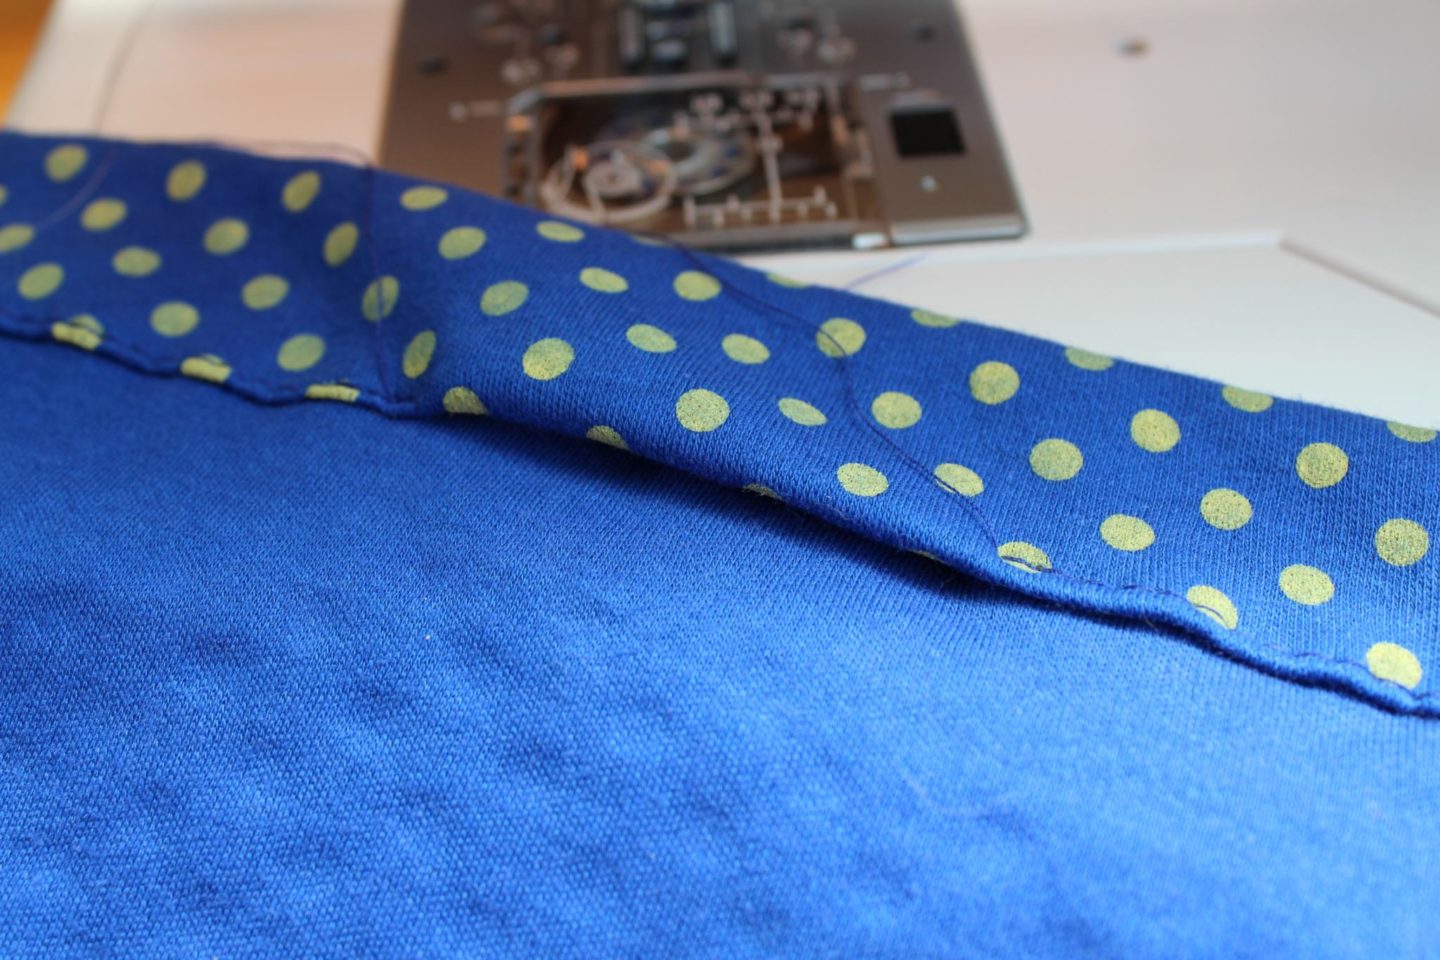
Cut a length of elastic the same length as your waist measurement. Thread the elastic through the top waist band using a safety pin to guide it through.
Over lap the ends of the elastic by about an inch and sew together to hold in place. Ideally, you would ask your child to try it on before you sew it so you can check the waist band is comfortable (use a safety pin to hold the ends of elastic together).
Stretch out and stitch the open piece of the top waist band so that the elastic is now completely enclosed.

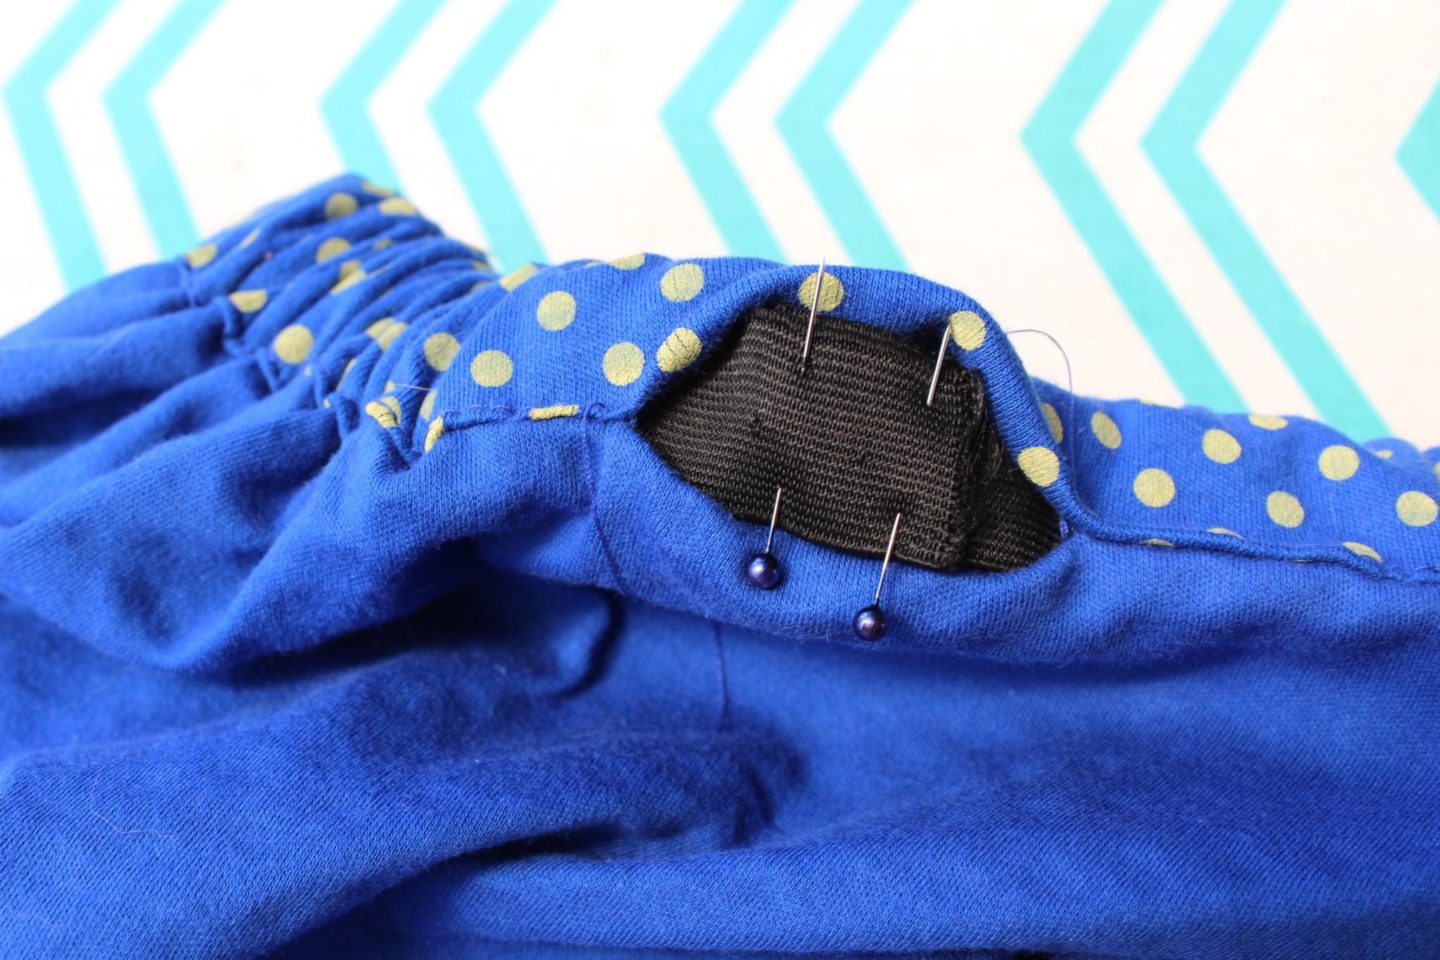
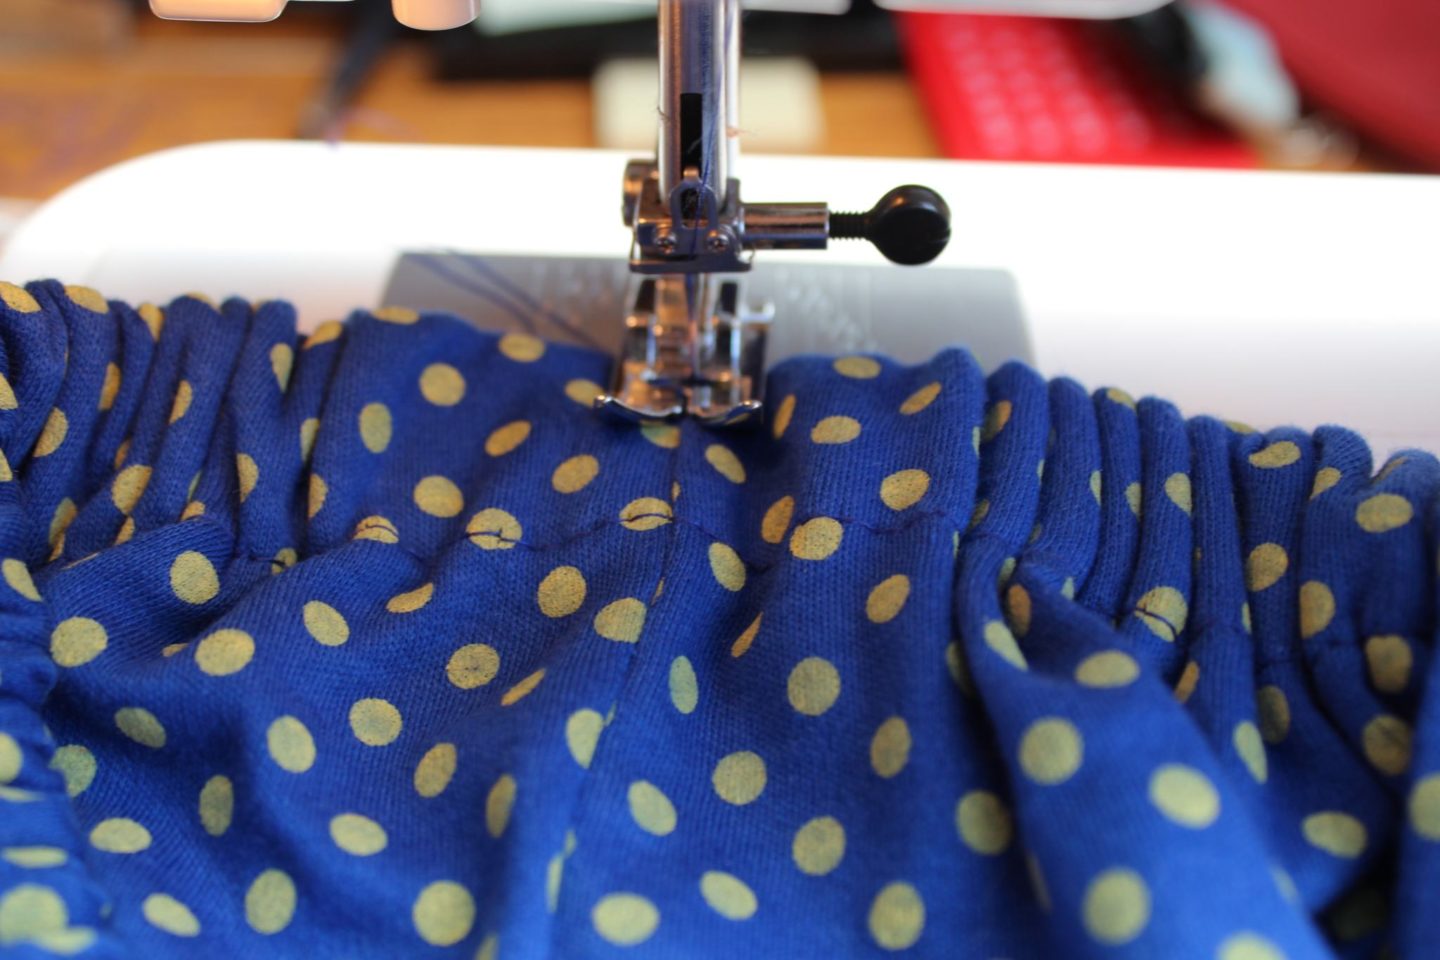
Now for the finishing touch. If you leave your skirt like this the elastic will probably twist in the waist band. You need to sew the elastic in place at two points along the waist band. One of these should be where the material joins. The stitching will be hidden here. The other place should be directly opposite, half way round the waistband.
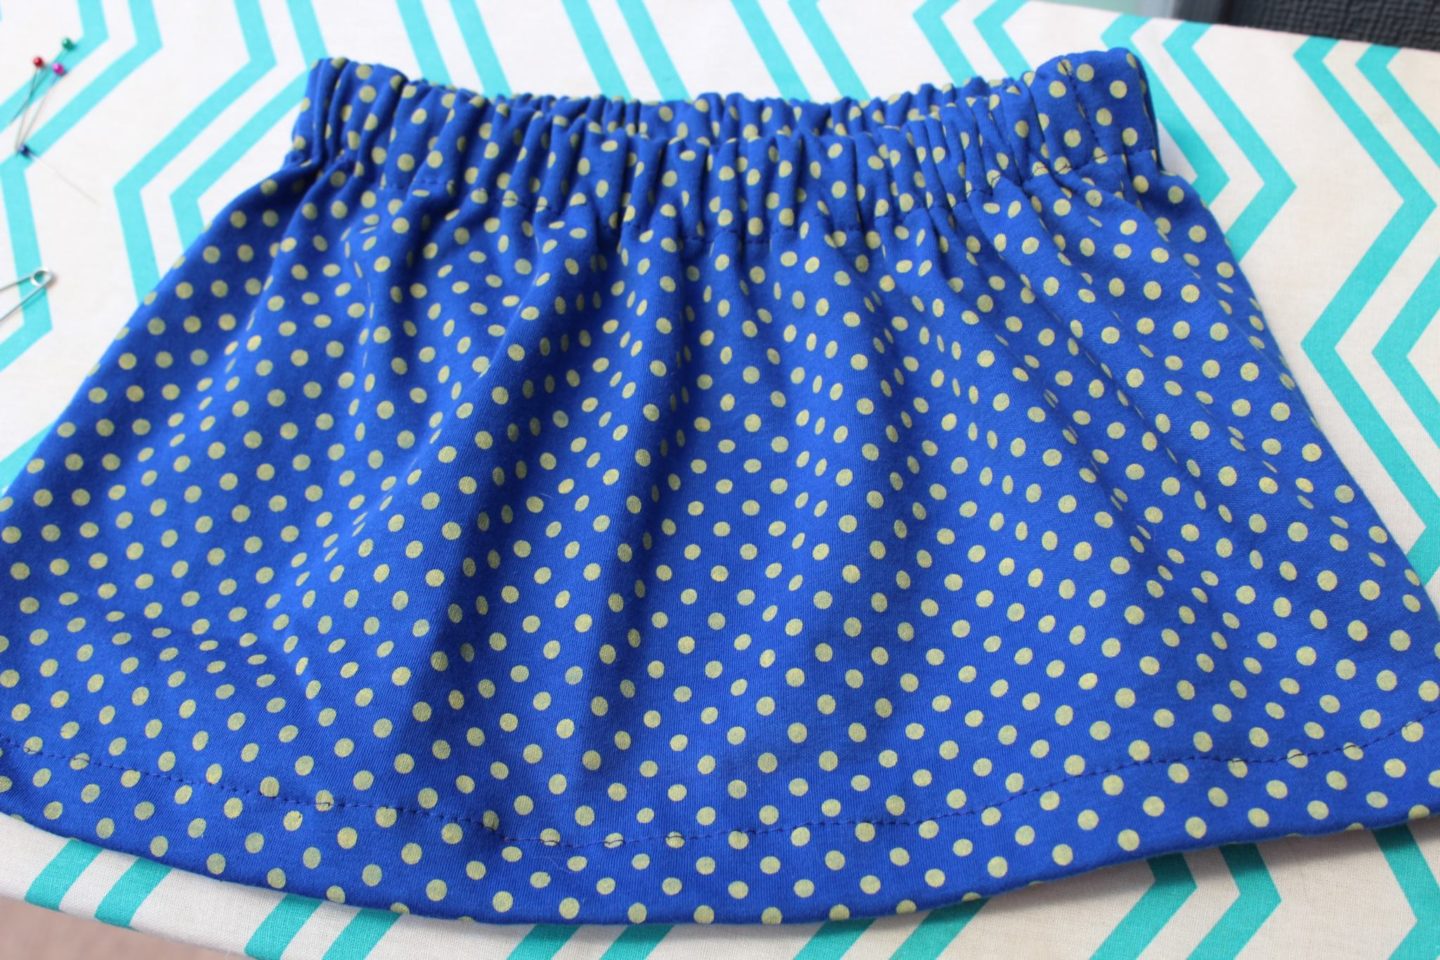
Your skirt is now finished!
If you like this post, why not PIN it for later?

Looks and sounds very simple. I still couldn’t make one though!! Well done to you.