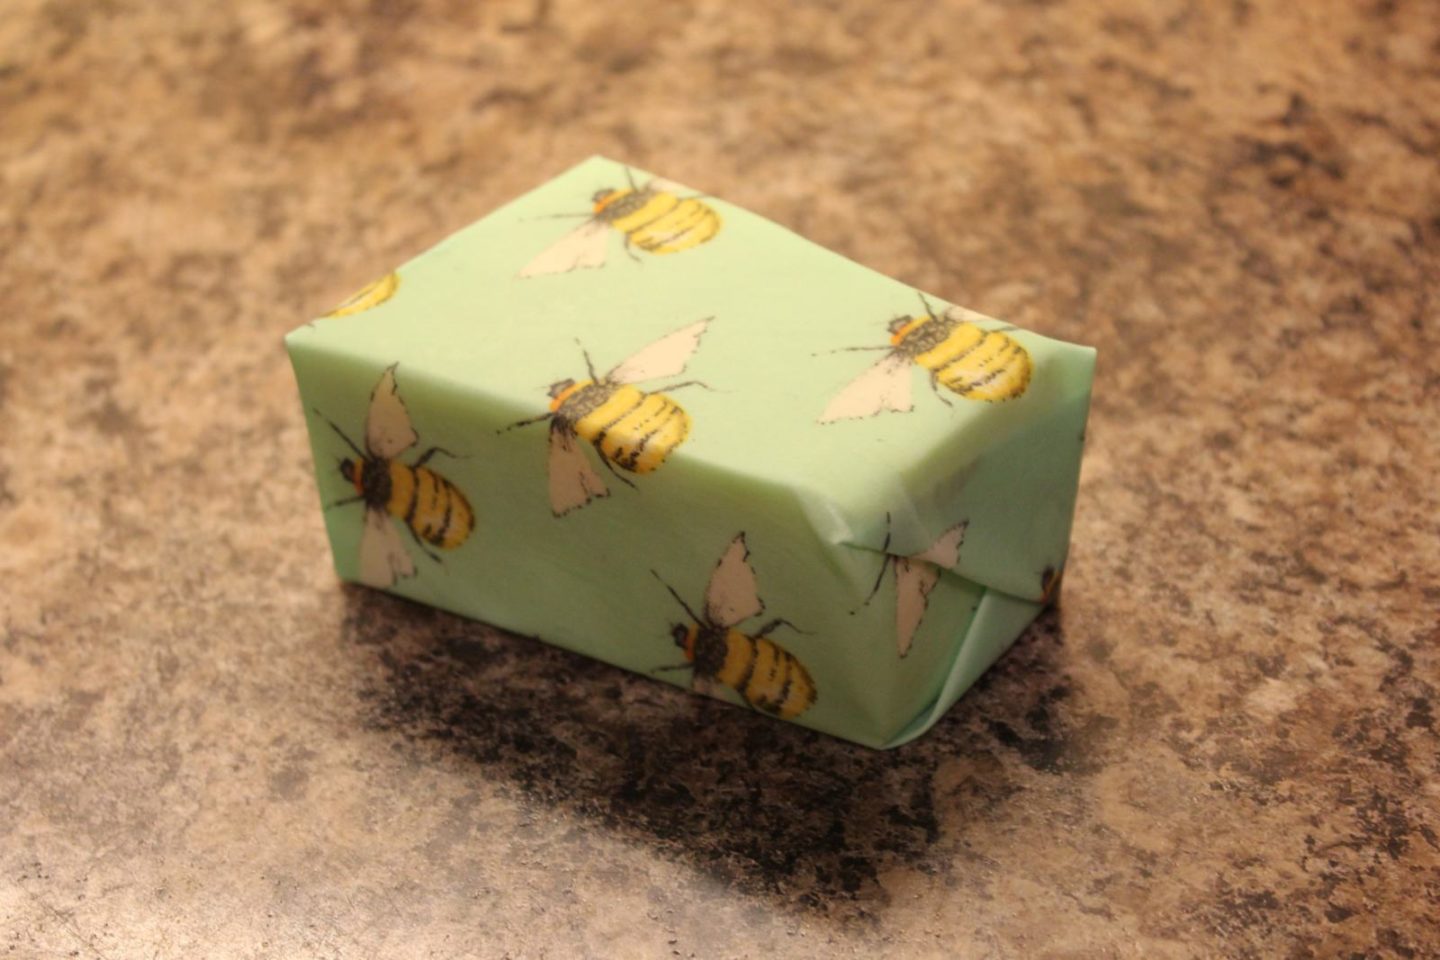
With the urgent need to cut the amount of single-use plastic we as a population are going through each day, beeswax wraps are becoming an increasingly popular option for people to use instead of cling film. Making them couldn’t be easier and according to a number of blog posts I’ve read they can each last up to a year making them extremely cost effective.
I’ve just finished making a stack of DIY beeswax wraps to use in our household. They can be used for covering cheese and other food, like salad bits, for keeping in the fridge. You can use wraps to carry snacks and sandwiches on the go. I’ve given the boys their flapjack snack for school in a DIY beeswax wrap which has worked really well because they can put the wrap in their pocket when they’ve finished so they don’t leave it outside at break, like often happens with snack boxes. You can wrap bread to keep it fresh on the counter or in the freezer. They really are very versatile!
What you need to create DIY beeswax wraps:
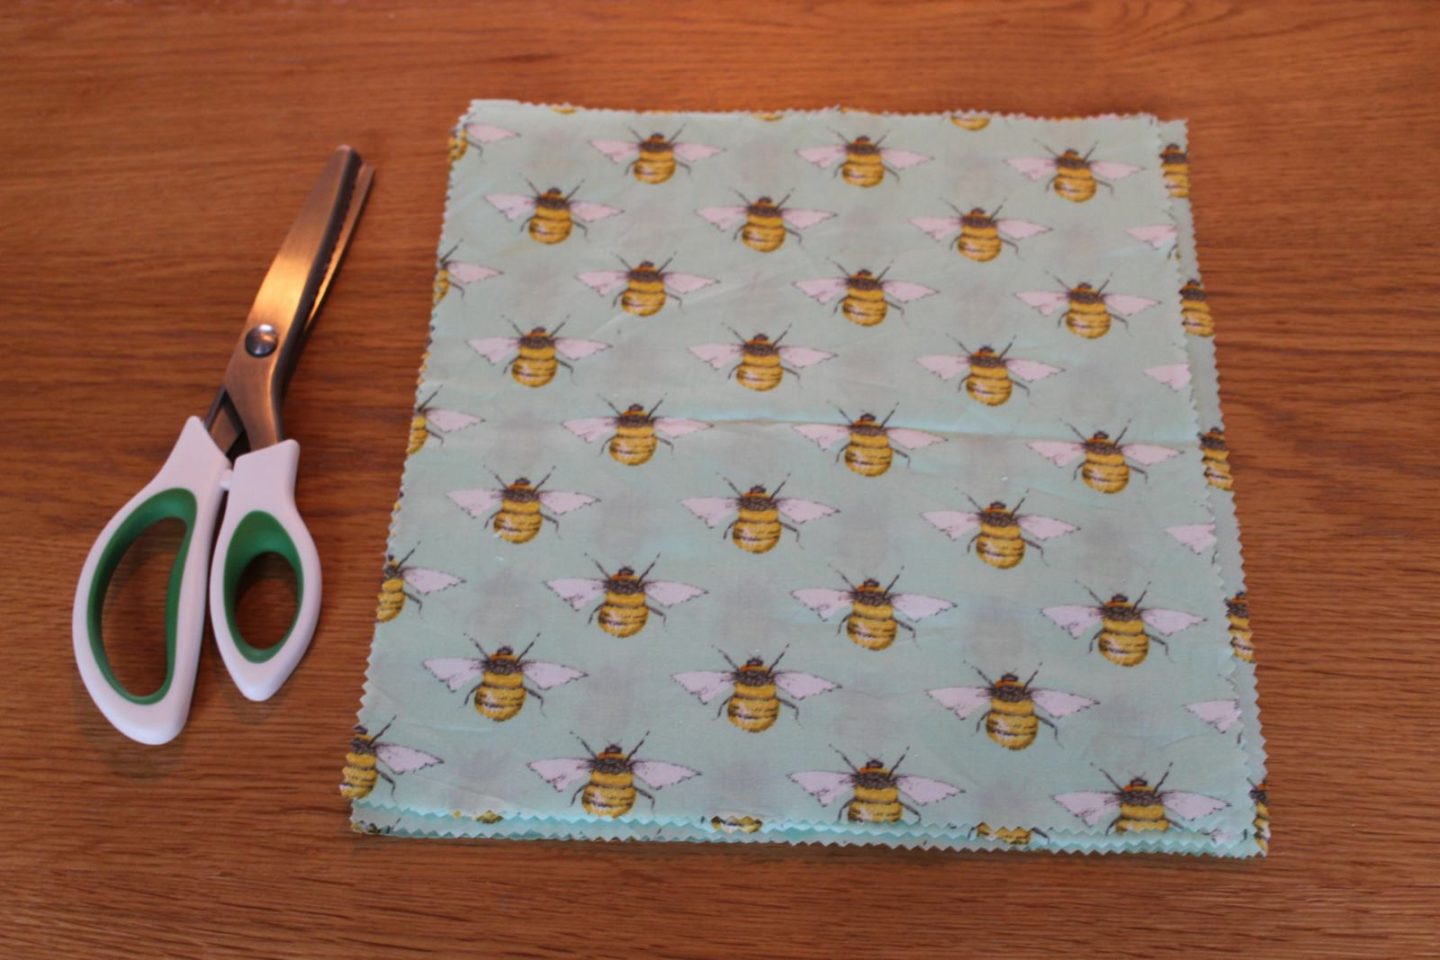
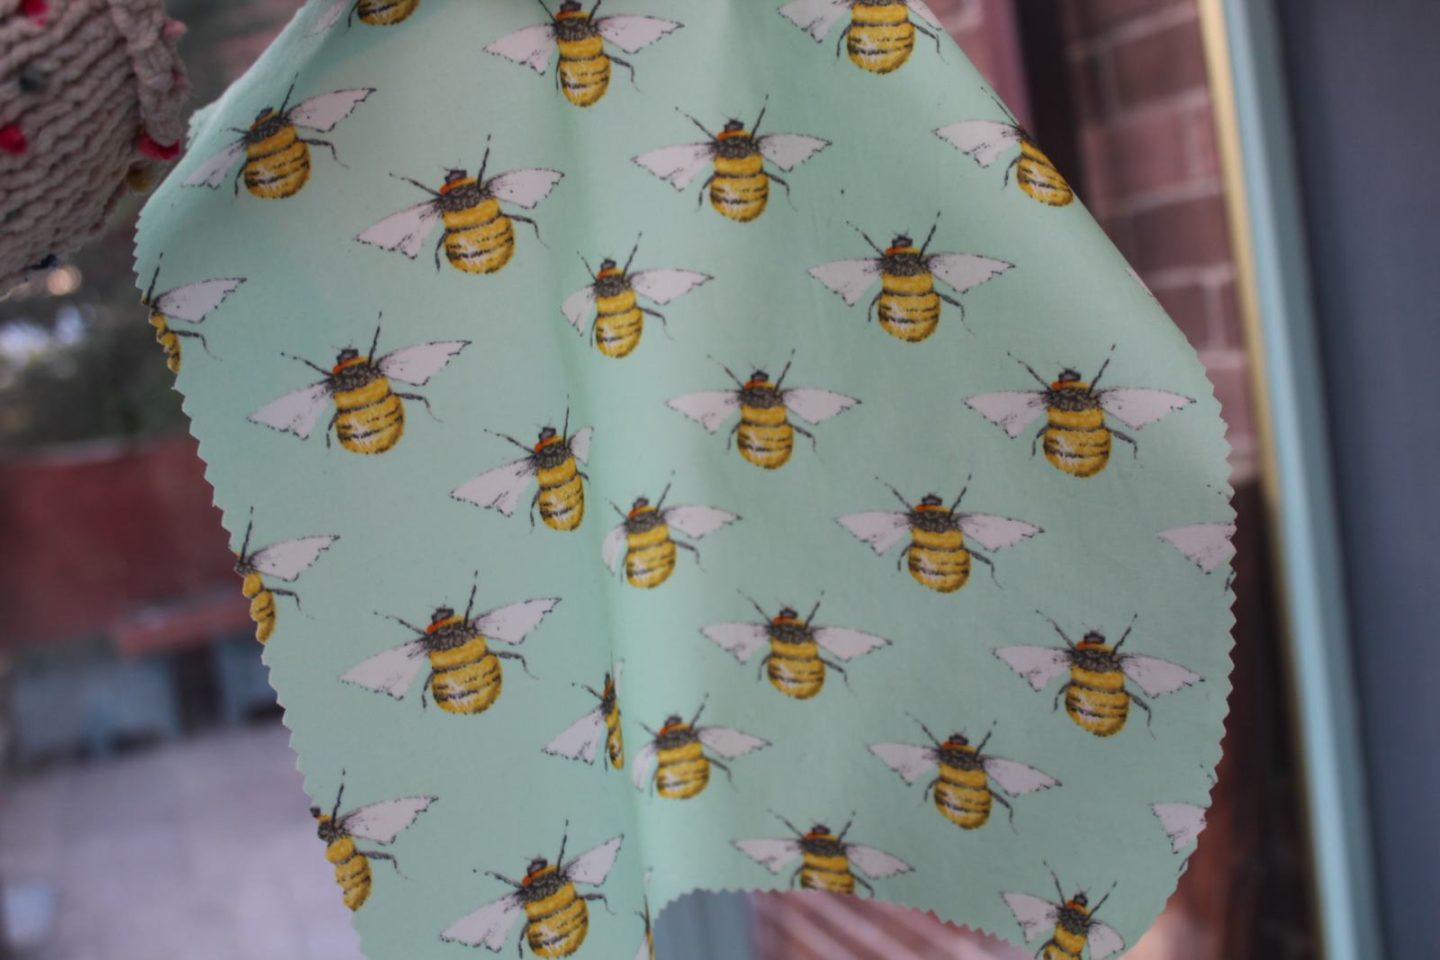
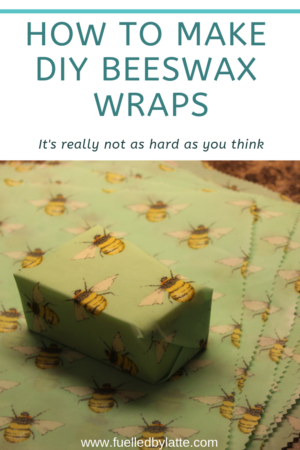
100% cotton, the ideal thickness is a bed sheet. I found this gorgeous bee print cotton at my local haberdashers and half a metre is enough to make 8 wraps of about 11 inches by 11 inches.
Pinking shears
Beeswax – I ordered mine online from Amazon
Coconut oil
Baking parchment
An iron, ironing board and an old towel.
How to make DIY beeswax wraps:
Cut out squares of material to your desired size. Using pinking shears to do this will help stop the edge fraying.
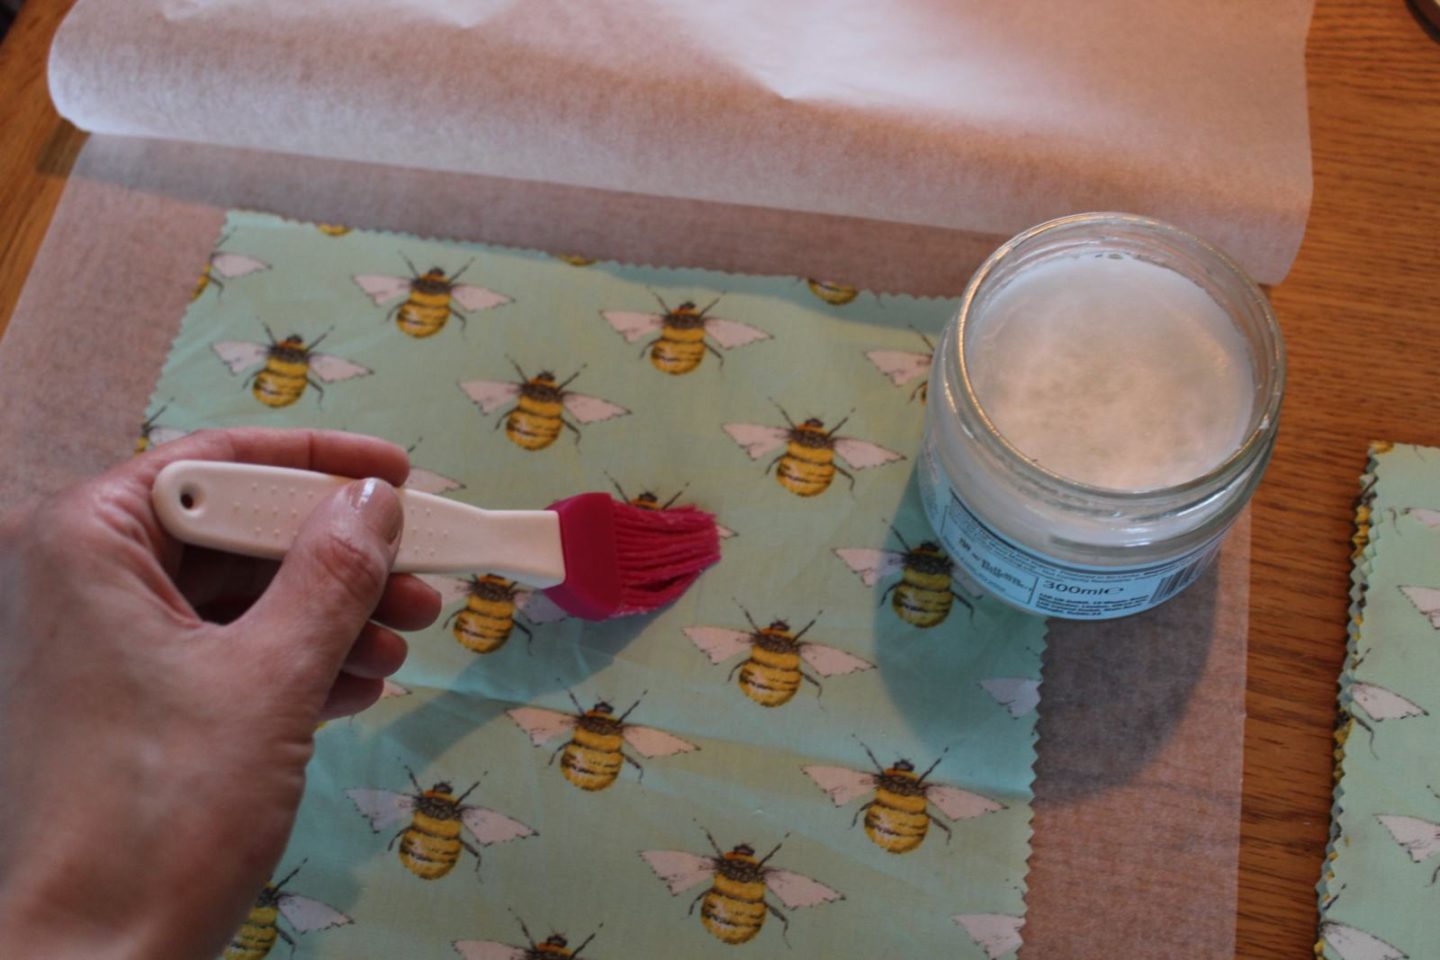
I’ve tried making the wraps using just beeswax and they were quite stiff. I then tried coating the material in a little coconut oil using a pastry brush, before using the beeswax, and these wraps felt softer, which I preferred, but you could always skip this step.
Lay a towel on the ironing board and a large piece of baking parchment folded in half. Make sure that your wrap fits well inside the edges of the parchment.
Open the parchment and lay your material inside it. Sprinkle beeswax pellets or grated beeswax on the material and fold the parchment back over the top of it.
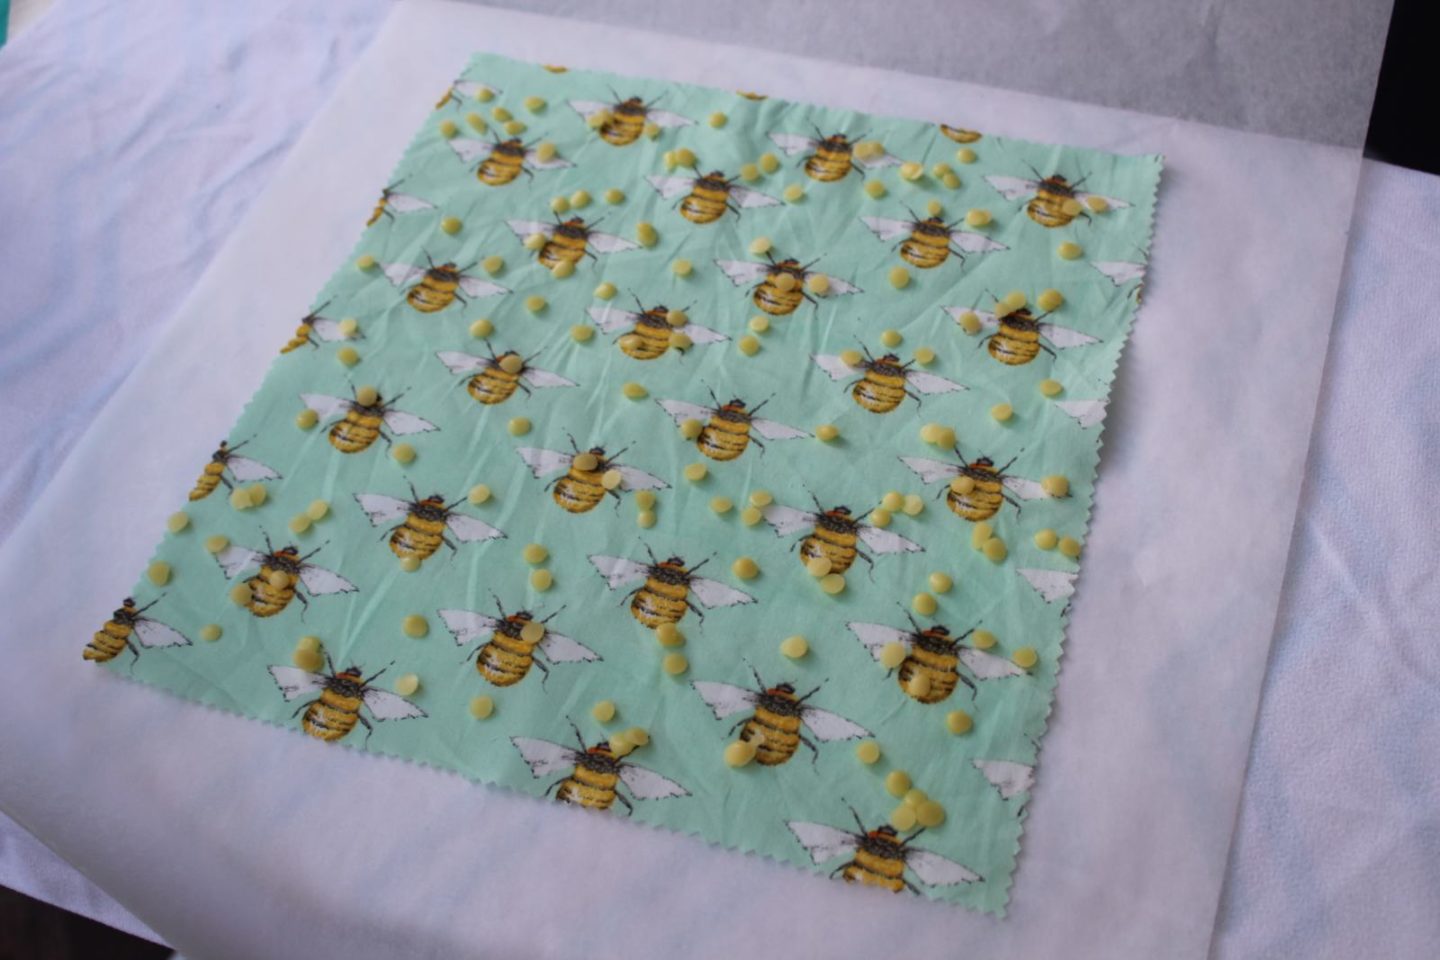
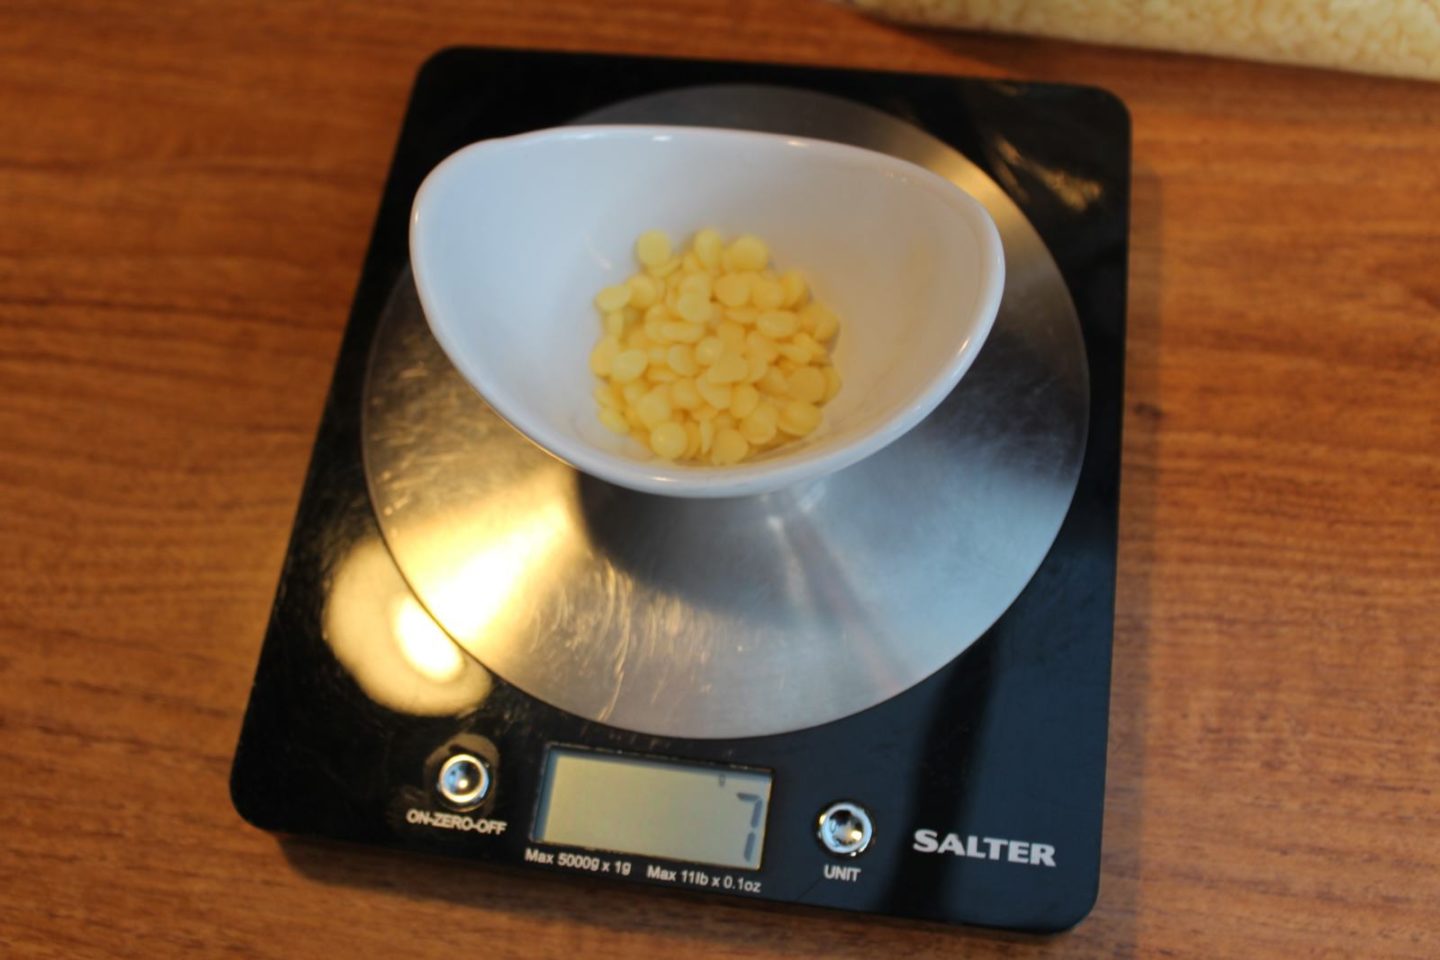
You really don’t need loads of beeswax. I have experimented with different sizes of material and found that for a piece of material 6 x 6 inches about 3-4g of beeswax will do.
For 8 x 8 inches use about 4-5g of beeswax, 10 x 10 inches use 5-7g of beeswax and 12 x 12 inches use 8-10g of beeswax. With the bees material that I cut into 11 inch square pieces I used 8g of beeswax.
Iron the top of the baking parchment until all the wax has melted. Take care that you don’t push the wax out of the edges as it will get onto your iron! I found it easier to start in the middle and circle the iron outwards until the material was totally covered. Also there is no need to have the iron on steam.
Open the parchment and peel off your material. Take care as it will be really hot. Leave the wrap on the side to cool for a few minutes and it’s finished.
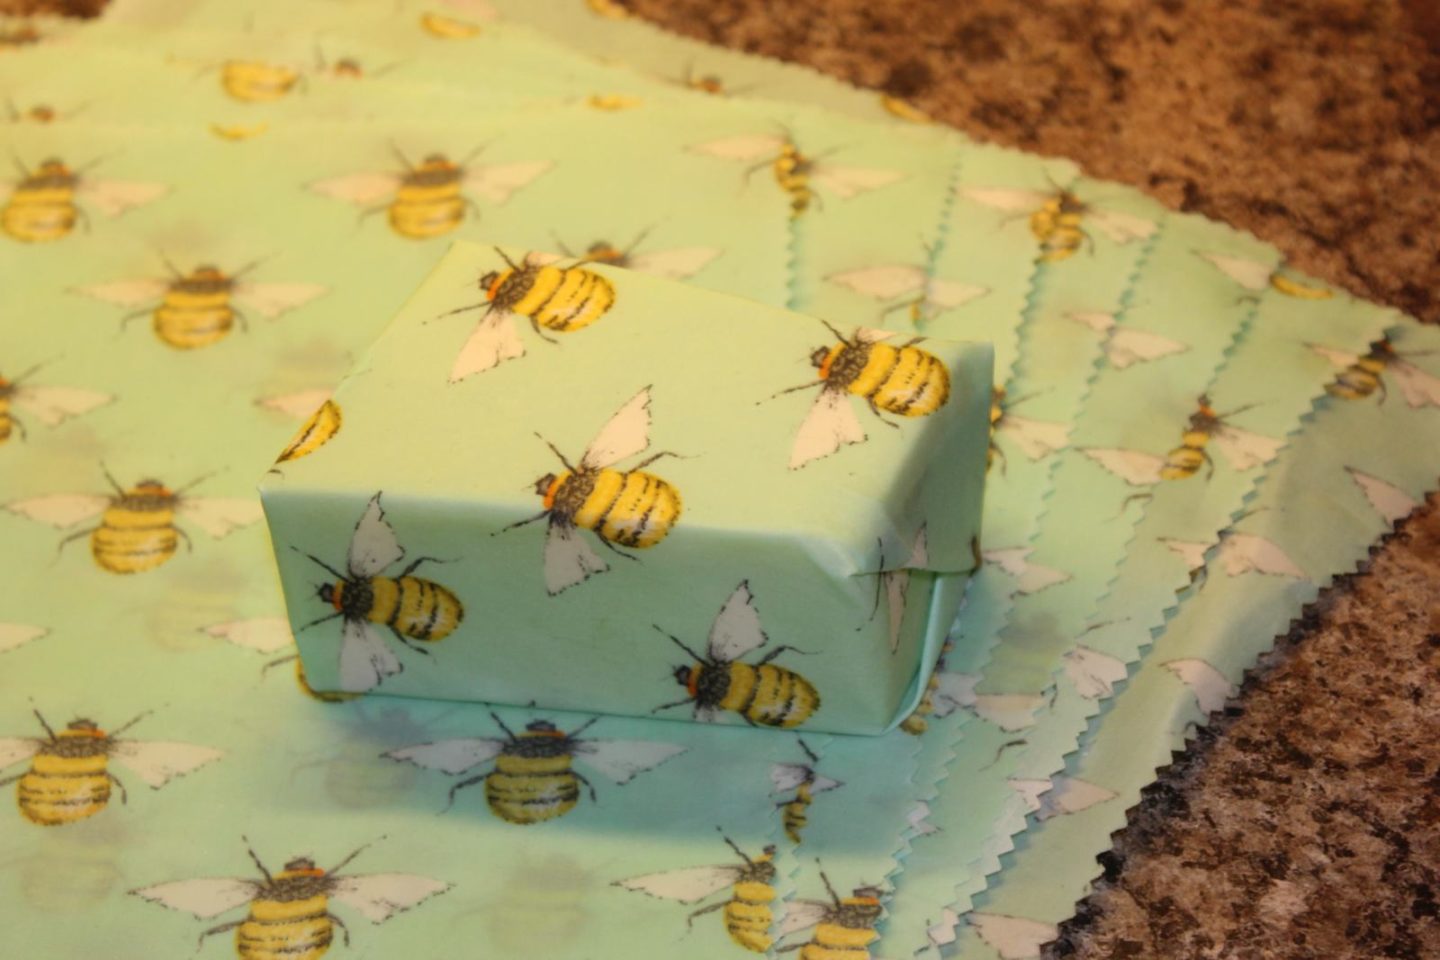
Tips for using DIY beeswax wrap:
When you come to using the wrap, if it is a bit cold then scrunch it up in your hands to make the wax more malleable. Use the heat from your hands to seal the ends around your food.
Wash them in cool water with a mild soap. Don’t use hot water or put them in the washing machine and leave them to air dry after washing, but not on a radiator!
Avoid wrapping raw meats as you can’t wash your wrap with hot water. You could however put the meat in a bowl and put a wrap over the top of the bowl.
You can use them in the freezer – just ensure that you create a tight wrap around the food.
Remember its only for storage so you can’t reheat food whilst it is wrapped in a beeswax wrap.
If the wax starts to look cracked or they are losing their waterproofing, then simply iron them again to re-wax them.
Edit May 2019: after a few uses I redid the waterproofing with a few grams more of beeswax and the wraps were much tackier meaning they stuck around food bowls better. I’ve not had to redo them since and they are working great!
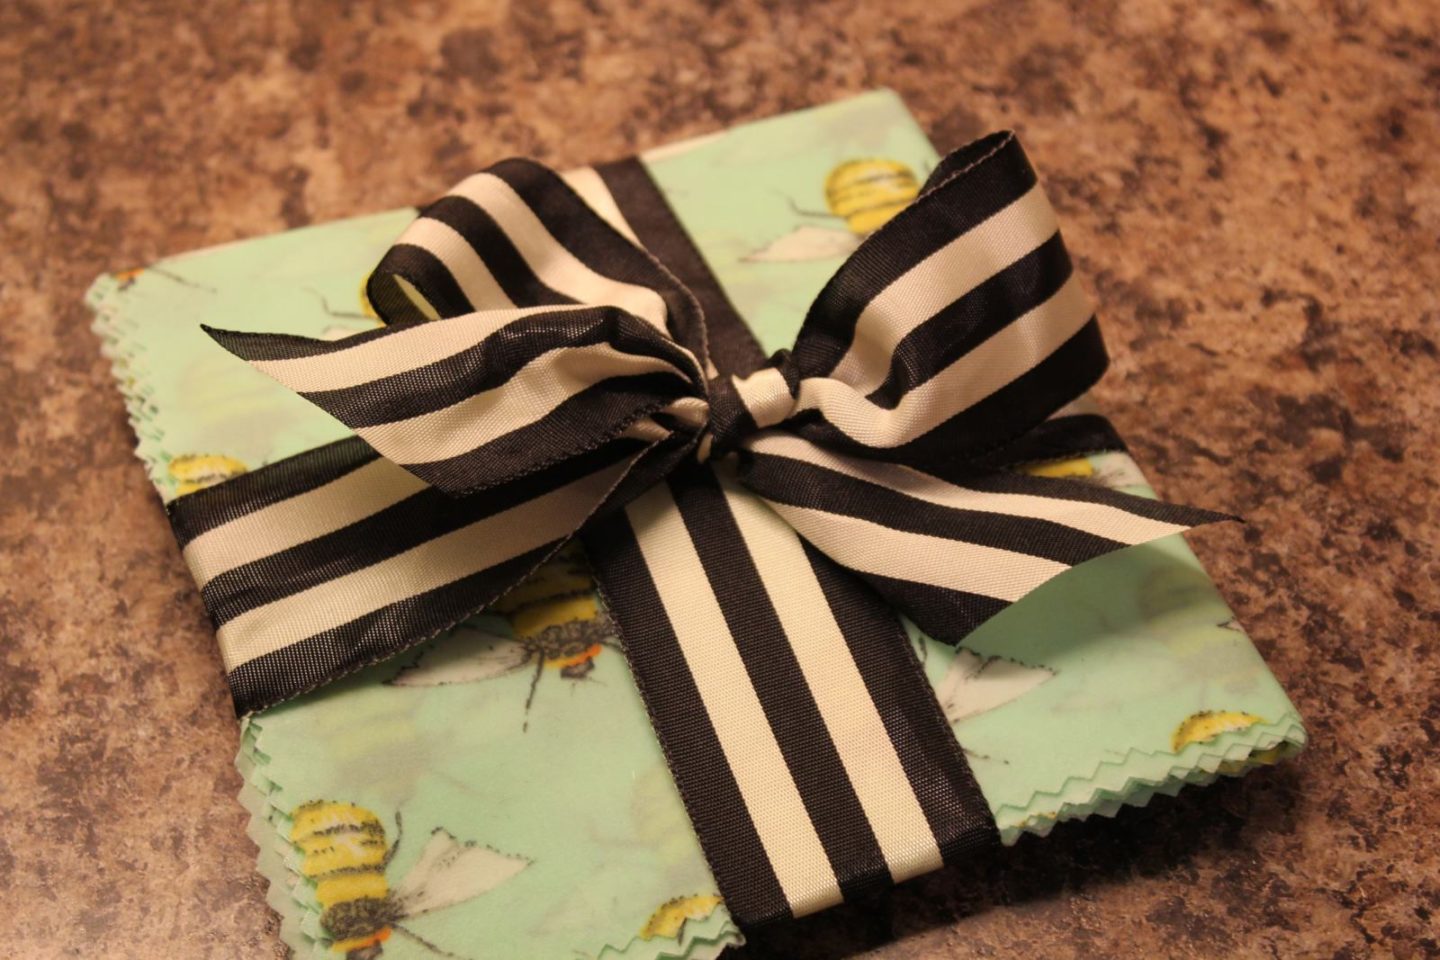
Why not give a stack of DIY beeswax wraps as a present?
Pin this post!

I like this idea, it looks and sounds good especially for avoiding using single use plastic!
Thank you for sharing this, really simple to make – now I have a lovely stack of beautiful eco wraps for Christmas gifting 🙂
Oh, I love this, and need to read it again! you have the basics laid out so clearly! Great job,
Silly question… do you have to apply wax to both sides of the fabric??
Hi Katie no you don’t need to. Thanks for reading.
I use beeswax and coconut oil combined as a wood cutting board and wooden spoon dressing. Keeps them from drying out and conditions the wood . It is food safe.